
 0466 120 139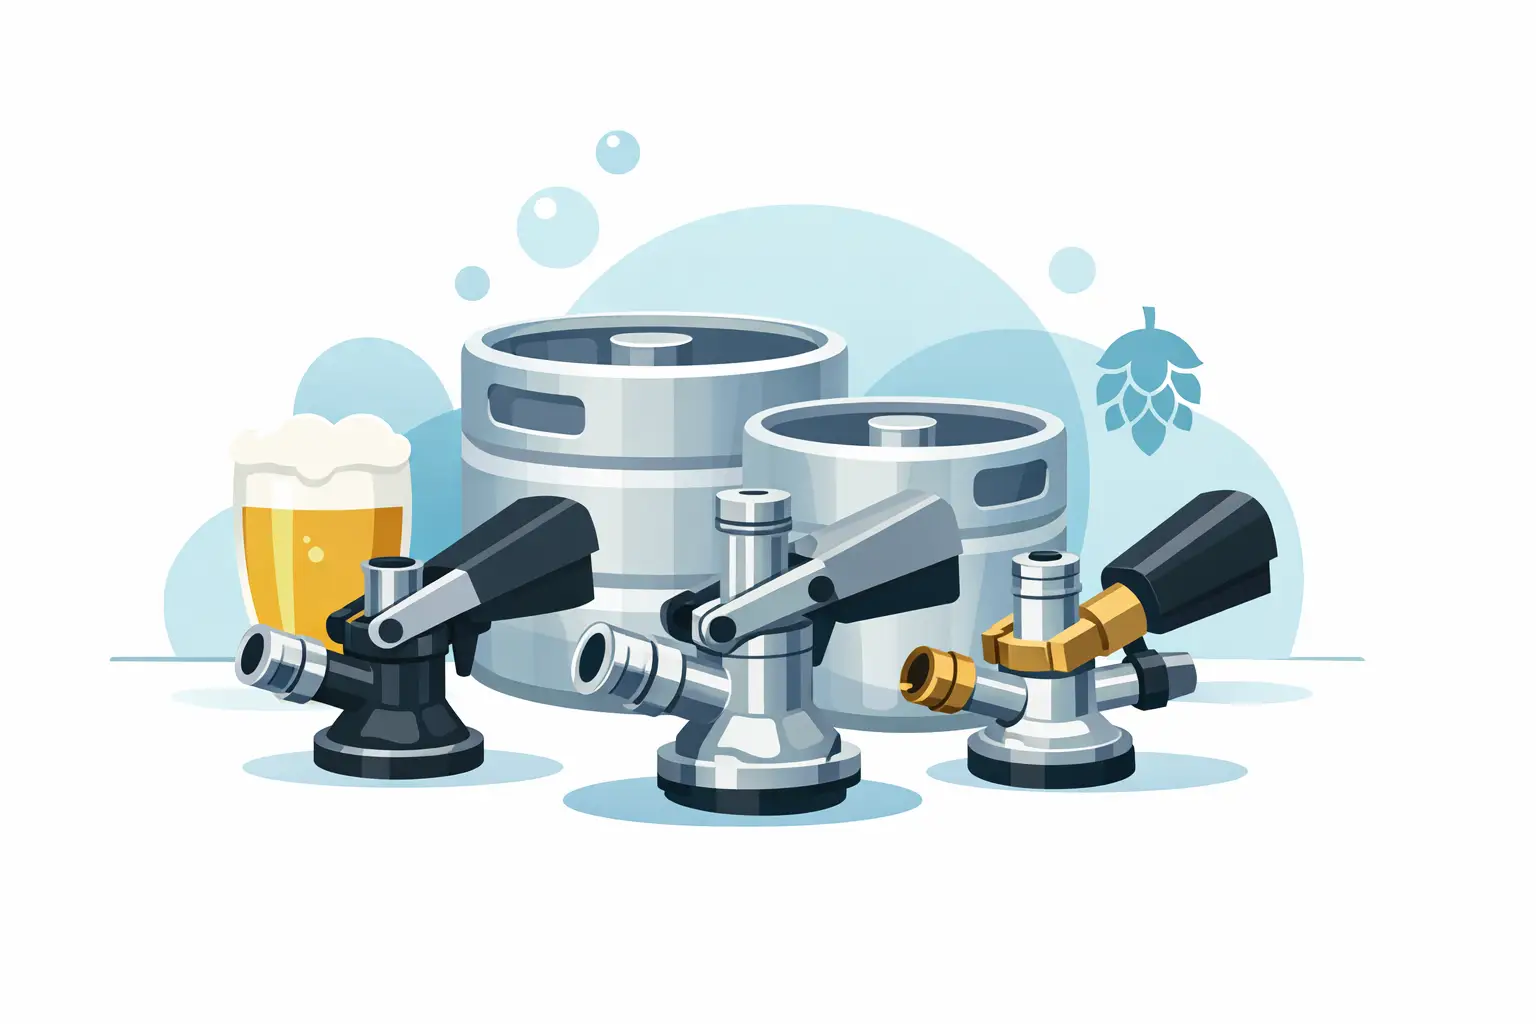
A keg can be full, cold and ready to go, but it will not pour a drop without the right connection on top. This guide to keg coupler types explains what those fittings do, how to identify the one you need, and why guessing is a quick way to end up with wasted gas, foam and a frustrating setup.
A coupler is the fitting that locks onto the keg valve, commonly called the spear. Once attached correctly, it opens the keg and creates two separate paths: CO2 goes in to maintain pressure, while beer or cider travels out through the line to the tap. The coupler needs to match the keg valve exactly. Similar-looking fittings are not necessarily interchangeable.
Most keg couplers have a handle, a locking mechanism, a gas inlet and a liquid outlet. The gas inlet usually connects to the CO2 line from your regulator, while the liquid outlet connects to your beer line and tap.
When the handle is in the resting position, the coupler is not opening the keg. After it is fitted and locked into place, pushing the handle down engages the keg valve. This is when gas can enter and beer can flow. It sounds simple, but forcing a mismatched coupler can damage seals, stop the keg from pouring properly, or leave you with a gas leak.
The keg manufacturer or supplier chooses the valve style. Your tap, font and kegerator do not decide the coupler type. That distinction saves plenty of confusion when setting up a home bar, hiring gear for a party or changing from one beer brand to another.
Several coupler styles turn up in Australia. The right one depends on the keg, not whether it contains beer, cider, kombucha or another carbonated drink.
The A-type, often called the German slider, is widely seen on many Australian brewery kegs and imported European-style keg systems. It slides onto the keg fitting before the handle is engaged, rather than twisting into position like a D-type.
Because A-type fittings are common locally, they are often a sensible starting point for home keg users. Still, do not assume every local keg is A-type. Confirm with the brewery or keg supplier before arranging a refill, buying a coupler or setting up for an event.
The D-type is commonly referred to as an American Sankey coupler. It has a twist-on fitting and is used by many large international beer brands, as well as some Australian suppliers.
A D-type can look close enough to other Sankey-style fittings to tempt a bit of trial and error. Avoid that approach. It may attach partway but fail to seal or properly engage the valve. If a keg is listed as D-type, use a D-type coupler and the correct gas and beer disconnects for that unit.
The S-type, or European Sankey, is used on a range of imported European beers. It resembles a D-type at a glance, but the probe dimensions and locking arrangement differ. An S-type coupler will not reliably replace a D-type, and vice versa.
This is a common issue for venues and home users who buy a favourite imported keg after running local brews. The rest of the dispensing system may be ready to go, but the coupler is the one part that has to change.
G-type and U-type couplers are most often associated with particular UK and Irish keg systems. G-type is also known as the A-system in some references, which can be confusing because it is not the same fitting as the German A-type slider.
The U-type is closely associated with Guinness and some related brands. It uses a distinctive three-lug connection. If you are pouring stout, check the keg specification carefully. The coupler type, gas blend and tap setup all affect the final pour, so fitting a standard beer coupler alone will not deliver the intended result.
The M-type is an older German basket-style fitting that is less common than A, D or S types. You are more likely to come across it with certain specialty or imported kegs than with everyday local supply.
If you have an unfamiliar keg, a clear photo of the valve and the keg brand will usually help a supplier identify the fitting. It is better to confirm before purchase than to collect a coupler that cannot be used.
Start with the keg label, invoice or supplier advice. The keg brand and coupler type are the most reliable information. If that is unavailable, inspect the valve at the top of the keg, but avoid poking at it or trying to remove anything. The spear is under pressure and should only be serviced by someone who knows the system.
Take note of whether the coupler locks by sliding, twisting or using a lugged connection. A clear photo from directly above and from the side is useful when asking for help. Also check what fittings are already on your gas and beer lines. Some couplers use threaded connections, while others use ball-lock or pin-lock style disconnects through adapters.
For a straightforward home setup, it helps to keep the coupler, gas line, beer line and tap hardware matched as one system. Aardvark & Arrow can help Gold Coast customers sort the practical details, from the correct coupler and spare parts to CO2 refills and kegerator setup.
Before connecting anything, make sure the keg is cold. Warm beer holds less CO2 and pours more foam, even when every fitting is correct. Turn off or isolate the gas at the regulator, check that the coupler handle is up, and inspect the O-rings for wear, splits or missing seals.
Fit the coupler according to its design. A twist-on type should seat and turn without force. A slider should move into position cleanly. Once it is locked, connect the gas and beer lines, then open the gas slowly and check for leaks around the regulator, disconnects and coupler.
Only then push down the coupler handle to engage the keg. Set pressure according to the drink, line length and serving temperature. There is no single pressure setting that suits every system. A short beer line, a warm keg and highly carbonated cider can all need a different approach from a standard chilled ale setup.
If nothing comes from the tap, begin with the simple checks. Is the gas bottle turned on? Is the regulator delivering pressure? Is the coupler fully locked and engaged? Is the tap open? A coupler handle that has not been pushed down is one of the easiest faults to miss.
If the beer is pouring mostly foam, do not immediately wind the gas pressure down. Check the keg temperature first, then look for a kinked or overly short beer line. Foam can also result from a dirty tap, a damaged coupler seal or a keg that has been shaken during transport. Let the keg settle upright and cold before deciding the equipment is at fault.
A hiss around the coupler usually points to a seal or connection issue. Shut off the gas, release pressure carefully through the system where appropriate, and inspect the O-rings. Never try to force the coupler tighter with tools. The right fitting should lock securely by hand.
A coupler is part of the beer path, not just a mechanical attachment. Beer residue around the outlet, probe and seals can affect flavour and harbour unwanted build-up. Clean and sanitise the beer-contact parts whenever you clean the lines, particularly if a keg has sat connected for a while.
Let components dry properly, replace worn O-rings and store the coupler somewhere clean rather than loose in the bottom of a fridge. A small amount of regular maintenance is cheaper than losing a keg to poor pours or replacing a contaminated line.
The best coupler is not the most common one. It is the one specified for your keg, fitted cleanly and backed by a cold keg, sound gas supply and balanced beer line. Get that connection right before your next backyard session or event, and the rest of the pour becomes much easier.