 0466 120 139
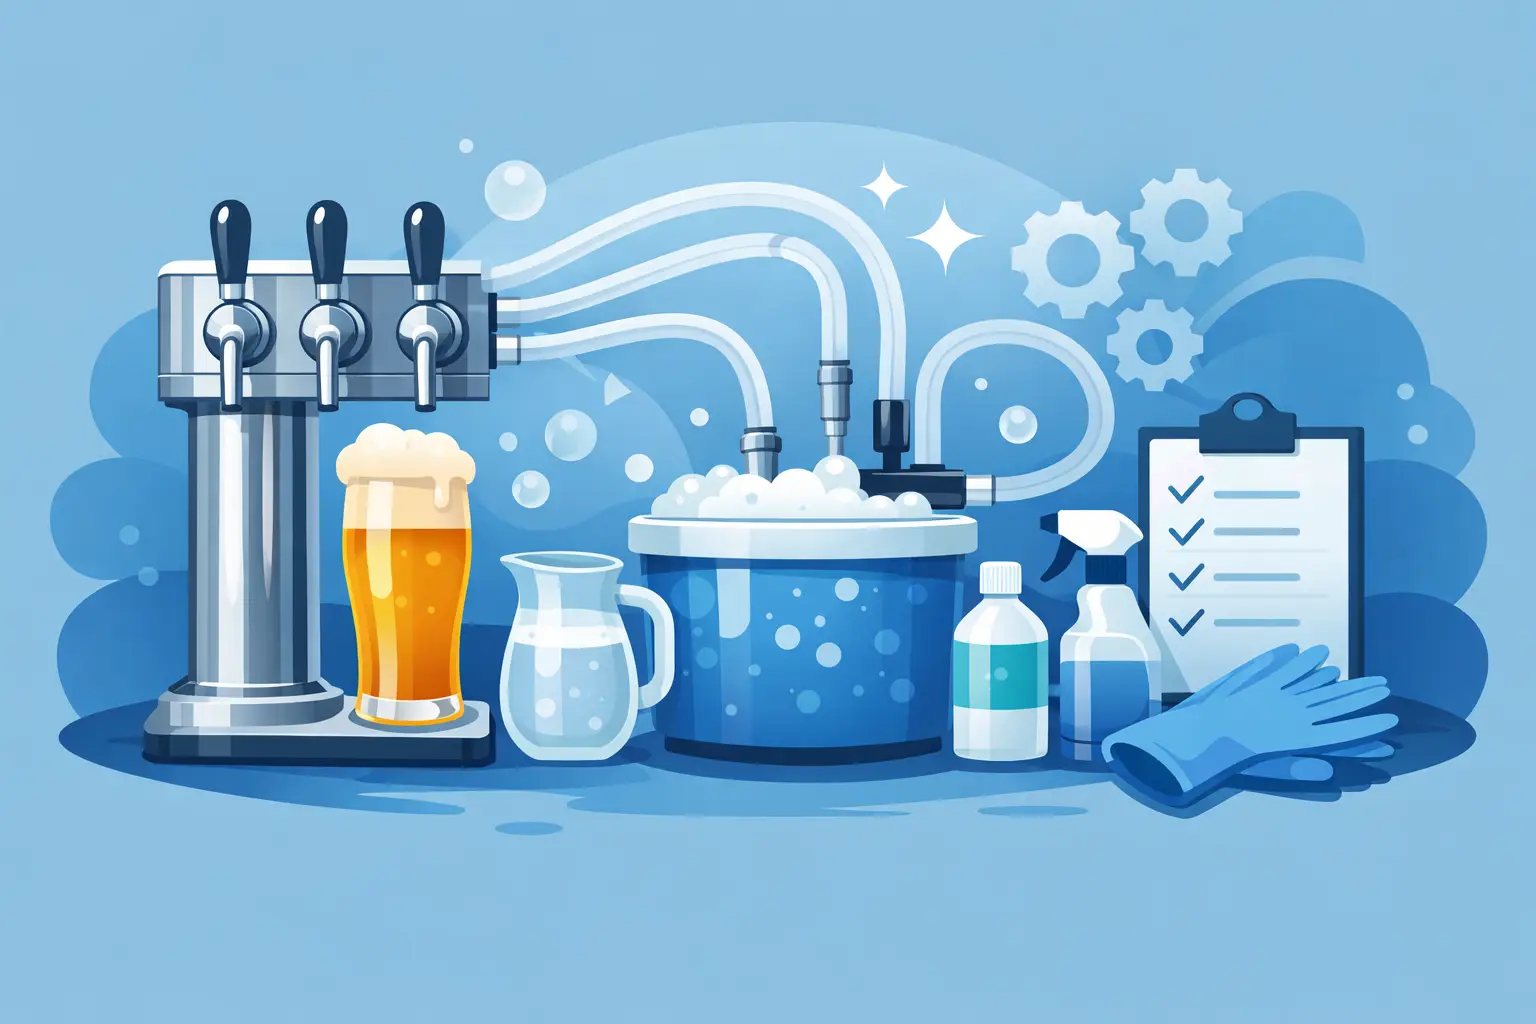
A keg can be full of good beer, your petrol pressure can be spot on, and your tap can still pour a glass that tastes flat, sour or oddly buttery. More often than not, the problem is in the line. If you want to know how to clean beer lines properly, the short version is simple – do it regularly, use the right cleaner, and do not leave residue or stale beer sitting in the system.
For home kegerators, party setups and small bar systems, dirty lines are one of the most common causes of poor beer quality. Beer stone, yeast, sugar residue and bacteria build up faster than many people realise, especially in warm weather or when a tap is used heavily across a weekend. Fresh beer deserves a clean path from keg to glass.
Beer is a living product in the sense that it is sensitive. Even a well-made lager or pale ale can pick up off flavours when it runs through dirty tubing, a contaminated tap or a neglected coupler. You might notice a sour edge, a stale smell, excess foaming or a pour that starts fine and finishes flat.
There is also the hygiene side of it. Old beer left in lines encourages microbial growth, and once that builds up, the system can affect every keg that follows. Cleaning protects flavour, but it also protects the gear itself. Taps, seals and fittings last longer when they are not coated in dried residue or mineral deposits.
If you have invested in a home draft setup, regular line cleaning is just part of owning it. It is no different to keeping a fermenter sanitised or checking your regulator before a party.
It depends on how often the system is used and what you are pouring. As a practical rule, beer lines should be cleaned every two weeks for regular use. If the setup sees a lot of traffic, sits in a warmer environment, or pours sugary beverages like cider, you may need to clean more often.
If a system is only used occasionally, it still should not be left for long stretches with beer sitting in the line. A line that has been idle for a couple of weeks can still develop flavour and hygiene issues, even if the keg itself is fine.
A good habit is to clean the lines whenever you change kegs if the turnaround is slow, and to stick to a fortnightly schedule if the tap is in regular use. That schedule is easier than trying to rescue a system once the beer starts tasting off.
You do not need a full commercial cleaning rig for a home system, but you do need the right basics. A proper beer line cleaning solution matters more than people think. General household cleaners are not suitable, and hot water alone is not enough to remove beer stone or oily residue.
Most home users will need a cleaning bottle or hand-pump cleaning kit, fresh water for rinsing, a bucket or jug, and access to the tap and keg connection. A small tap brush can help if the faucet needs extra attention. If your lines are old, cloudy or still smell after cleaning, replacement may be a better option than trying to stretch them further.
It also helps to have a bit of spare time. Rushing this job usually means poor rinsing, and cleaner left behind in the line will ruin the next pour just as surely as a dirty system will.
Start by turning off the petrol and disconnecting the keg. That stops beer moving through the system and gives you a clean break before flushing. If there is pressure in the line, release it carefully according to your setup.
Next, empty any remaining beer from the line by pouring it through the tap into a jug or bucket. This gets the stale beer out before cleaning solution goes in. If you skip this part, you dilute the cleaner and reduce how well it works.
Mix your beer line cleaner according to the product directions. Stronger is not always better. Too much chemical can damage parts or make rinsing harder, so stick with the recommended ratio.
Run the cleaning solution through the line until it comes out of the tap. Once the line is full, let it sit for the contact time recommended by the cleaner manufacturer. This gives the solution time to break down protein, yeast and mineral build-up. If you are cleaning a system that has been neglected, you may need a second pass.
After soaking, flush the line thoroughly with clean water. Keep flushing until there is no sign of cleaner left in the outflow. If the water still feels slippery or carries any chemical smell, keep going. This is one of the most important parts of the job.
Then clean the tap itself. The faucet often collects residue around the spout and internal parts, and that can affect the first pour even if the line behind it is clean. If the tap can be taken apart safely, disassemble it, clean the pieces, rinse well and reassemble.
Once everything is back together, reconnect the keg and petrol, then pour and discard the first small glass. That final rinse-through helps ensure what reaches your drinking glass is fresh beer, not leftover water.
One of the biggest mistakes is waiting until there is a problem. If your beer already smells strange or tastes sour, the contamination may be well established. Regular maintenance is far easier than trying to correct a badly neglected system.
Another common issue is using the wrong cleaner. Detergents, sanitiser meant for fermenting gear, or random kitchen products are not a substitute for a proper beer line cleaner. Different products do different jobs. Some remove organic build-up, while others are designed more for sanitising than deep cleaning.
Poor rinsing is another trap. A line can be technically clean but still unusable if chemical residue remains. You do not want that in your beer, and you do not want it sitting against seals and fittings longer than necessary.
Finally, people often clean the line and ignore the rest of the system. Taps, shanks, couplers and disconnects can all hold residue. If one part stays dirty, it can reintroduce flavour issues quickly.
Sometimes the line itself is the problem. If the tubing is stained, stiff, cracked or permanently tainted with smell, cleaning may only get you part of the way. Beer line is not outrageously expensive, and replacing old tubing can save a lot of frustration.
This is especially true for systems that have been sitting unused, party hire gear that has done a lot of kilometres, or setups that have poured both beer and sweet drinks through the same line. Cider and other sugary beverages can leave behind stubborn residue, and old plastic can hold odours even after a decent flush.
Temperature issues can also get mistaken for dirty lines. If your beer is too warm, or the line runs through a hot section of the room, you can still get foaming and poor pours even after a clean. Cleaning helps flavour and hygiene, but it does not fix every dispensing problem.
The easiest way to stay on top of beer line cleaning is to make it part of your keg routine. Mark it on the calendar, clean before a big event, and do not assume a lightly used system stays clean on its own. A few minutes of maintenance saves a lot of wasted beer.
For most home users, the best approach is straightforward: clean every two weeks, rinse thoroughly, and inspect taps and fittings while you are there. If something looks worn out, replace it before it starts causing trouble. That is the sort of small, practical upkeep that keeps a draft system reliable.
At Aardvark & Arrow Brewery, we see plenty of setups where the beer itself is excellent but the line has let it down. The good news is that this is one of the easiest problems to prevent. Keep the path clean, and your beer has a much better chance of tasting exactly as it should – fresh, crisp and worth pouring another glass.